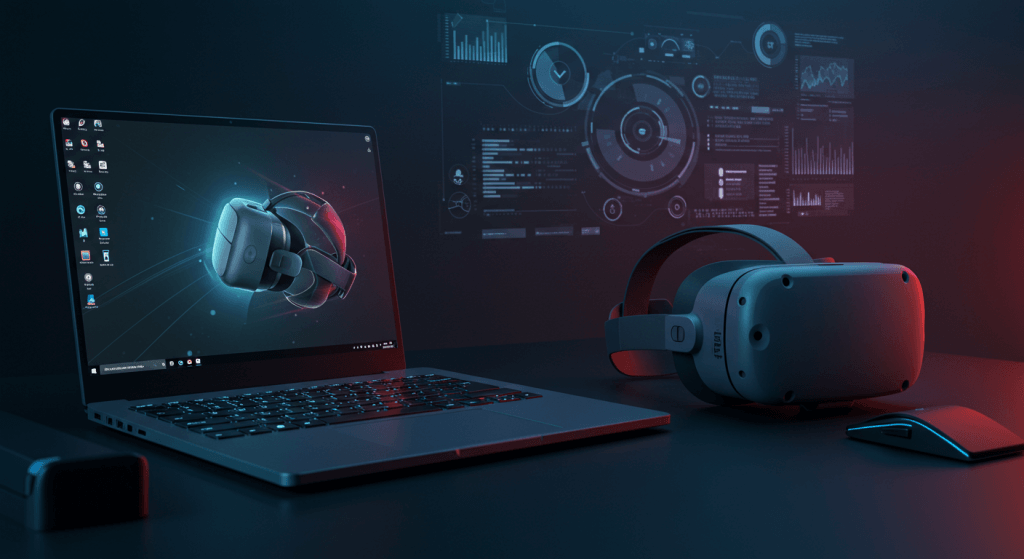
Virtual Reality (VR) gaming is one of the most immersive experiences you can enjoy today — but if you’re using a gaming laptop, you’ll need to optimize your system to get smooth performance, high frame rates, and minimal lag.
In this article, we’ll show you exactly how to optimize your gaming laptop for VR, using a combination of hardware checks, software tweaks, and smart performance tricks. Whether you’re using an Oculus Rift, HTC Vive, or Meta Quest with Air Link, these tips will help you get the most out of your VR headset.
1. Check If Your Gaming Laptop Is VR-Ready
Before tweaking anything, verify that your laptop meets VR system requirements. Here’s what you need:
Minimum VR Requirements:
- GPU: NVIDIA GTX 1060 / AMD RX 480
- CPU: Intel i5-4590 / AMD Ryzen 5 1500X
- RAM: 8GB or more
- Ports: USB 3.0 and HDMI/DisplayPort
Recommended for Smooth VR:
- GPU: RTX 3060 or higher (RTX 3080+ ideal)
- CPU: Intel i7-9700K / Ryzen 7 3700X or better
- RAM: 16GB minimum (32GB if multitasking or modding)
- Storage: NVMe SSD
Use tools like SteamVR Performance Test or the Oculus Compatibility Checker to analyze your system.
2. Essential Software Optimization
Update Your Drivers and OS
- GPU Drivers: Use GeForce Experience (NVIDIA) or Adrenalin (AMD)
- Windows Updates: Always keep your system updated
- Chipset/USB Drivers: Check your laptop manufacturer’s website
- VR Platform: Ensure SteamVR, Oculus, or Virtual Desktop is updated
Set the Right Power Plan
- Choose High Performance in Windows
- In NVIDIA Control Panel > Set Power Management to Maximum Performance
- Never play VR on battery mode
Turn On Game Mode
- Go to Settings > Gaming > Game Mode
- It helps prioritize VR tasks and reduces background interruptions
Close Background Apps
- Shut down unnecessary apps: browsers, Discord, OBS, Dropbox, etc.
- Disable hardware acceleration in apps like Discord
- Use Task Manager > Startup tab to disable auto-starting apps
3. Optimize Hardware & Cooling
Keep Your Laptop Cool
- Use a cooling pad
- Clean vents with compressed air every 3–6 months
- Reapply thermal paste annually
- Monitor temperatures with HWMonitor or MSI Afterburner
- Keep CPU < 90°C and GPU < 85°C during gameplay
Upgrade RAM and Storage
- Upgrade to 16GB or 32GB RAM
- Use dual-channel memory for better bandwidth
- Install an NVMe SSD for faster loading and less stuttering
Consider an External GPU (eGPU)
- If your laptop supports Thunderbolt 3/4, an eGPU like Razer Core X can massively boost performance
- Requires a desktop-grade GPU and stable OS (Windows 10/11)
4. Tweak VR Graphics Settings
Get More FPS With These Tips:
- Reduce heavy settings: shadows, reflections, anti-aliasing
- Enable NVIDIA DLSS or AMD FSR if available
- Lower texture resolution on bandwidth-limited headsets
- Set Super Sampling to 100%, adjust in 10% steps
- Lower your main display’s resolution to 1080p
Use Built-In VR Tools:
- Oculus Debug Tool: Enable ASW, sharpening, and test Open Composite
- SteamVR Settings: Tweak per-game resolution and reprojection
5. Manage System Resources
- Use Process Lasso to assign CPU affinity to VR apps
- Prioritize VR apps in Windows Resource Monitor
- Allocate more RAM to SteamVR
- Enable NVIDIA Reflex Low Latency Mode
Disable services like SysMain if they consume excessive disk I/O.
6. Advanced Performance Tricks
GPU Overclocking (Optional)
- Use MSI Afterburner
- Start with small steps (e.g. +100MHz)
- Monitor temps and test with 3DMark or similar benchmarks
- Don’t overdo it – stability is key
Undervolting
- Lower voltage to reduce heat
- Use ThrottleStop or Intel XTU
- Aim for stable performance with less fan noise
Optimize Network for Wireless VR
- Use 5GHz Wi-Fi or Wi-Fi 6 router
- Place the router near your play area
- Use Ethernet for laptop connection
- Use QoS to prioritize VR traffic
- Lock streaming settings (bitrate, resolution) for consistency
7. Maintain & Monitor Regularly
- Clean your laptop every few months
- Use HWMonitor or FPSVR during gameplay
- Log data to catch performance drops
- Benchmark monthly after updates
Final Thoughts
By applying these tips, you can transform your gaming laptop into a VR-ready machine. From updating drivers and closing background apps to managing heat and fine-tuning graphics settings, each adjustment plays a role in delivering a lag-free, immersive VR experience.